


Check the finished surface, not the drying process
Agree when the coating is ready to assess. AVRORA notes that drying depends on the substrate, application thickness and room humidity. A time estimate alone is therefore not proof that every part of a wall is ready. Follow the instructions for the exact product and ask the installer when the final appearance can be judged.
Record the application date and any areas completed later. If a patch is still drying, arrange another look instead of treating a temporary difference as a settled defect. Keep furniture clear until the installer confirms that normal use is appropriate; do not press or rub the surface to test it.
Use the lighting you actually live with
Begin at the doorway, then look from the places where you sit or pass through the room. Compare the finish with the approved physical sample in daylight and under the lamps intended for everyday use. Inspect the overall balance before moving closer to individual details.
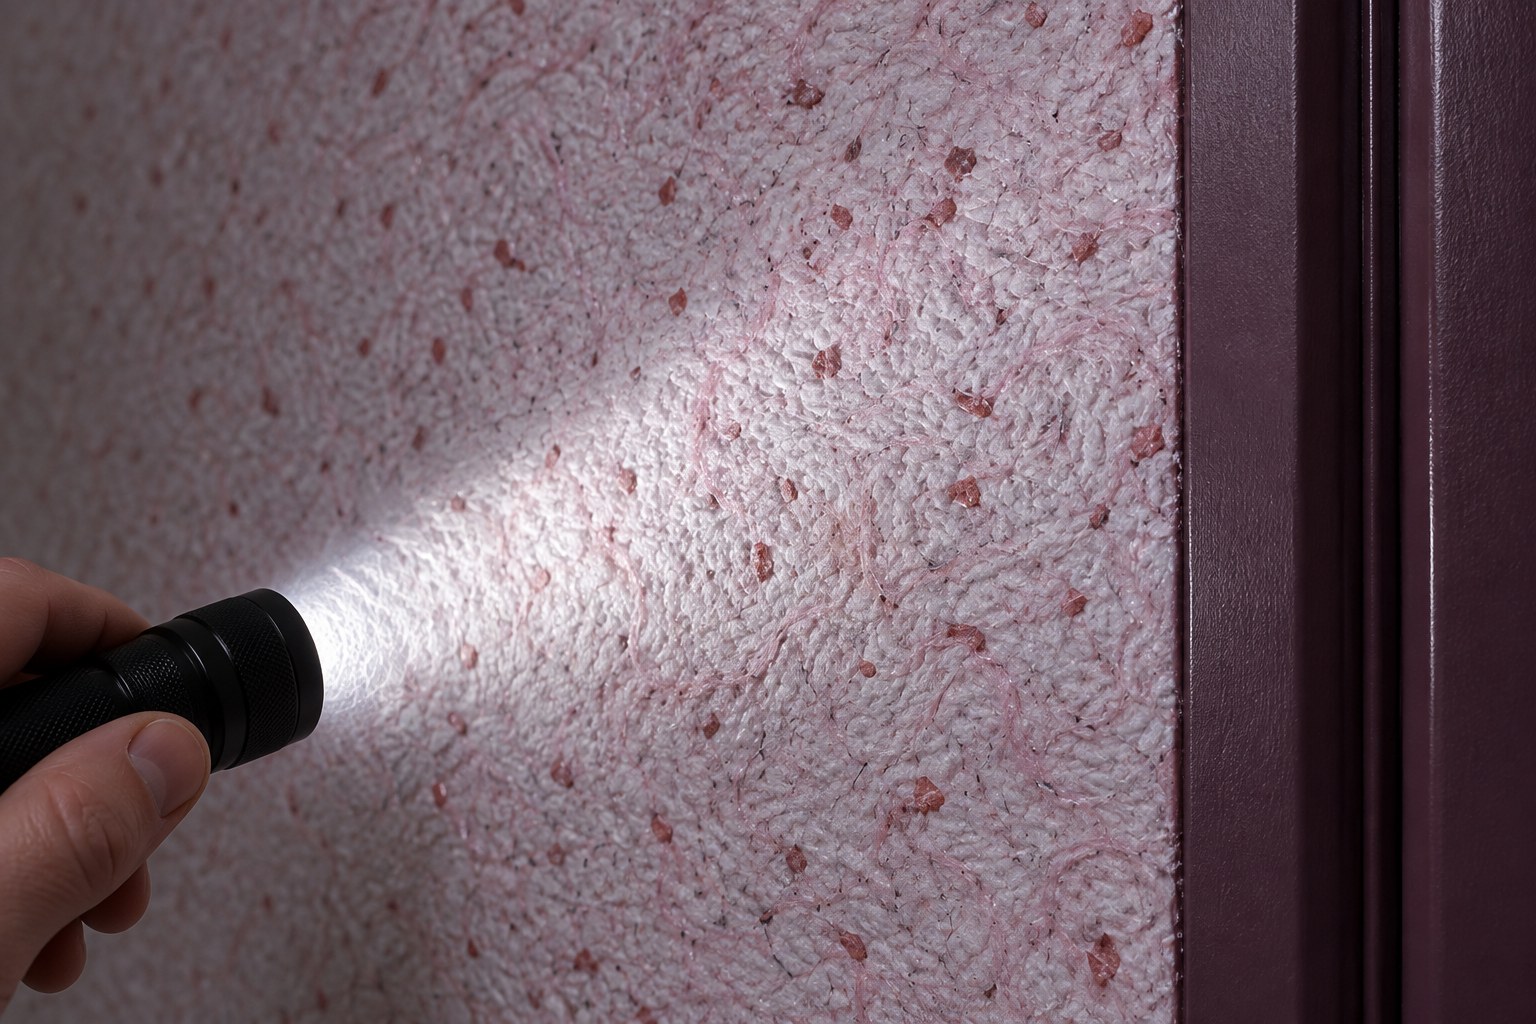
Light travelling along a wall emphasises its relief. That can help locate a ridge, but it also makes an intentionally textured finish look more pronounced. Distinguish the material’s character from an isolated inconsistency. A phone photograph is useful for recording a location; it is not a dependable colour reference.
Follow the edges, then look across the wall
Walk around the room in one direction so that no section is missed. Look at corners, window reveals, door frames and the line above the skirting. Compare how the finish meets each adjacent material. Check the visible perimeter of fittings without removing covers or disturbing the installation.
Then look across each wall for isolated thin-looking areas, abrupt changes in texture or conspicuous build-ups. Ask the installer to explain anything that differs from the agreed sample. Do not expect a fibre-based finish to resemble perfectly flat paint; the useful question is whether the result is coherent and consistent with what was approved.
- Check corners and the edges around openings.
- Look for accidental coating on frames or other finished surfaces.
- Compare texture transitions in the room’s normal light.
- Leave uncertain areas untouched until they have been assessed.
Make each observation easy to act on
‘The wall looks wrong’ is difficult to investigate. ‘There is a raised strip to the right of the window, visible from the doorway in daylight’ gives someone a starting point. Take one photograph of the whole wall and one close-up, and note the room, position and lighting.
Keep a short numbered list on paper or on your phone. Avoid attaching labels or adhesive tape to the new coating. For each item, agree what happens next: a check after further drying, an explanation against the sample, or a proposed correction. Record when the result will be reviewed again.
Leave with a small, useful finish record
Before the details are forgotten, save the collection, colour reference, batch information and application date. Ask which primers and any protective topcoat were used, because future care advice needs to cover the complete finish. Photograph the packaging and keep the approved sample if practical.
If spare material is retained, have it identified and stored according to the manufacturer’s instructions. Add the agreed care method and the contact for future questions. A finished room is easier to live with when you know both what is on the wall and whom to ask before changing it.
Manufacturer guidance
AVRORA application and drying guidance (Russian)Find the finish that fits your project
Explore AVRORA collections or tell us about your room. We can help clarify the product, preparation and quantity before you order.
