


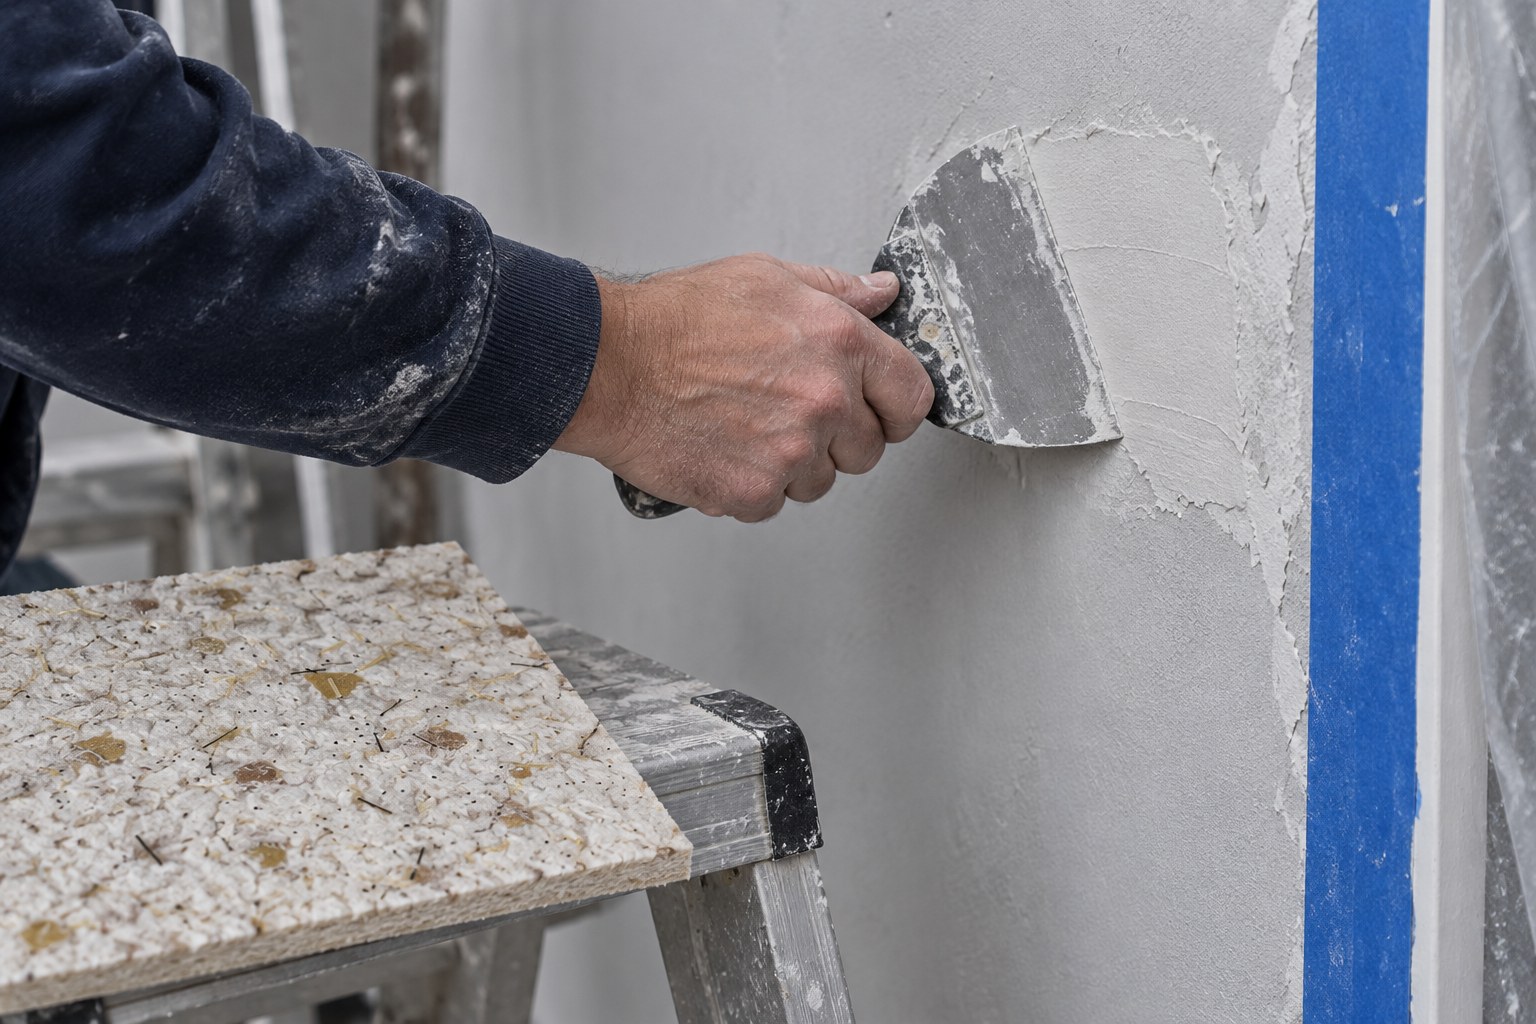
1. Identify the surface you actually have
Record the base material and what is on top of it. ‘A painted wall’ is not a complete description: the paint may cover plaster, plasterboard, previous repairs or several older coatings. Check more than one part of the room, especially repaired areas and the wall around windows.
Give the installer photographs in both even light and light coming from the side. These are useful for planning, but they cannot replace an on-site assessment where the condition or adhesion of the base is uncertain.
- What is the underlying wall material?
- Which old finishes remain?
- Where have repairs, leaks or previous patches occurred?
- Are there metal fixings, joints or changes of substrate?
2. Separate preparation problems from decoration
A loose layer, an active moisture problem or a recurring stain needs a diagnosis before it gets covered. Otherwise you are spending money on a finish while leaving the reason for the defect in place. If a patch keeps returning after treatment, stop and establish the cause.
Avoid specifying a universal removal method from a photograph. The right approach depends on the material, its condition and what lies beneath it. Agree which existing layers can remain and which must be removed before work starts.
3. Agree the complete preparation system
Ask for a short written sequence naming the repair materials and primers, their order and the required drying conditions. A bucket labelled ‘primer’ is not a complete specification. A product chosen to improve grip does not automatically solve uneven absorption or staining.
AVRORA publishes preparation guidance, but the current instructions for the chosen product and the identified wall should govern the job. Where instructions appear to conflict, obtain clarification before combining materials. Record the answer so the installer and buyer work from the same plan.
4. Approve a representative test area
Choose a test area that includes a typical repair or substrate transition, rather than the easiest patch of wall. Prepare and finish it using the proposed system. Let it dry as instructed before assessing colour, coverage and the visible texture.
This is also the moment to agree workmanship. View the area from a normal standing position and under the room’s intended lighting. If a wall will have strong light running along its surface, include that condition in the approval instead of discovering its effect after the room is finished.
5. Make the room ready for uninterrupted work
Clear access to corners, protect adjacent surfaces and arrange the working area before mixing. Confirm water quantity, preparation time and application thickness from the package. Do not borrow a recipe from a different collection or brand.
Schedule the room around the full process: preparation, the intervals required between materials, application and drying. Keep the packaging and product references until the work is accepted. A useful handover records what was used, not just which colour the wall became.
- The base has been assessed and any underlying defects addressed.
- Preparation materials and their sequence are confirmed.
- The test area is dry and accepted.
- The package instructions and a realistic room schedule are available.
Manufacturer guidance
AVRORA: preparation and application instructions (Russian)Find the finish that fits your project
Explore AVRORA collections or tell us about your room. We can help clarify the product, preparation and quantity before you order.
